


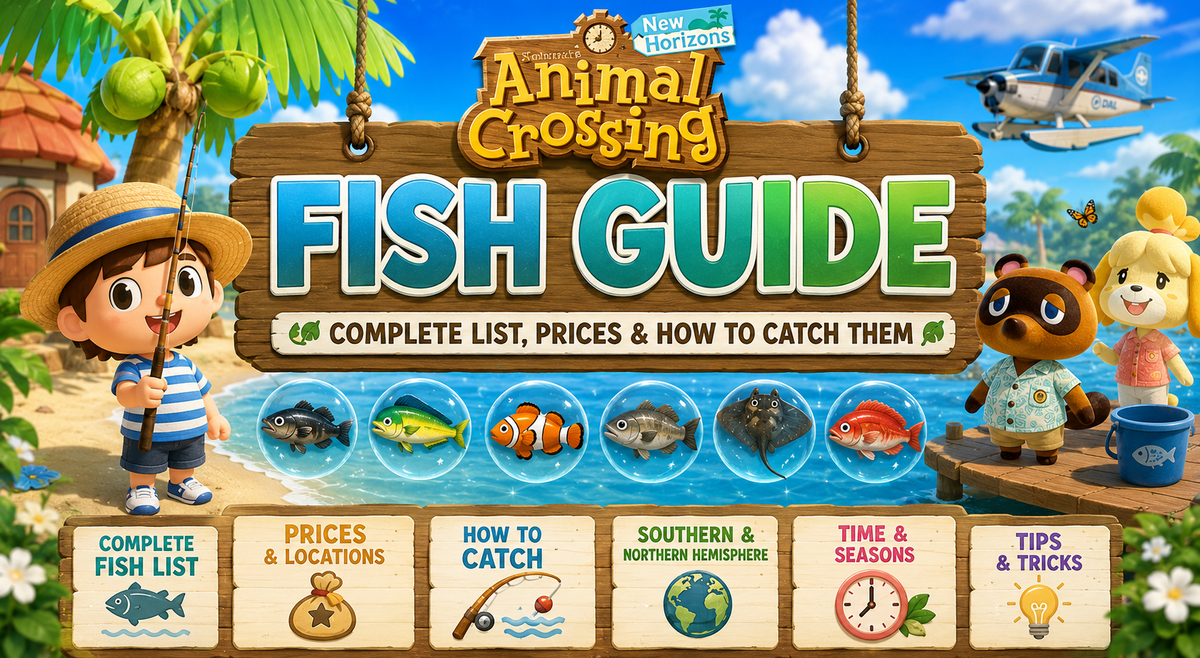
Animal Crossing: New Horizons Fish Guide — Complete List, Prices & How to Catch Them
To fish in Animal Crossing: New Horizons, equip a fishing rod near any body of water, cast toward a fish shadow, and press A when the bobber fully dips underwater. Fish appear in rivers, ponds, and the ocean depending on species, season, and time of day. Use fish bait to summon shadows on demand for rare catches.
Fishing is one of the most rewarding everyday activities on your island. Whether you're chasing rare catches to pay off your Nook loans or trying to complete your Critterpedia, this Animal Crossing: New Horizons fish guide covers everything you need: how to fish, where and when each fish appears, and how to land the rare ones.
This guide covers everything in order: what gear you need, how to cast and reel, how to read shadows, where each species lives, which fish pay the most Bells, and how to plan your Critterpedia across the full in-game year.
What You'll Need to Start Fishing
Before you cast a line, you'll need a fishing rod. Here's how the rods stack up from weakest to best:
- Flimsy Fishing Rod — the starter rod Tom Nook gives you a recipe for on day one. Crafted from five tree branches. Breaks quickly but gets you on the water immediately.
- Fishing Rod — the standard upgrade. Crafted from one Flimsy Fishing Rod and one iron nugget. Lasts significantly longer and is what most players use day-to-day.
- Golden Rod — the best fishing rod in the game. It lasts far longer than any other rod and is the ultimate tool for serious fishers. Normally unlocked by catching every fish in the Critterpedia, but you can get it delivered straight to your island from ACNH Mall.
The Golden Rod is the endgame fishing rod — it has the highest durability of any rod in the game. If you're planning long fishing sessions hunting rare species, it's worth having in your inventory before you start.
How to Fish in ACNH (Step by Step)
If you're new to the game, here's how to fish in Animal Crossing: New Horizons step by step:
Open your inventory, select your fishing rod, and walk near any body of water — rivers, ponds, the ocean, or even waterfalls. Look for a dark, fish-shaped shadow moving in the water.
Face the water and press A to cast your line, aiming the bobber just in front of the fish shadow — not directly on top of it. The fish will swim over to investigate and nibble.
The fish will nibble a few times — don't react yet. Wait for the clear "plop" sound and the moment the bobber dips fully underwater before pressing A. React to the sound rather than the visual.
Pressing too early scares the fish away — you'll have to recast. Once you've nailed the timing, you'll rarely miss.

If a fish swims away repeatedly, recast so the bobber lands closer to its head. And if you want a specific fish, eat fruit to gain energy and scare off unwanted shadows by digging nearby — leaving only the shadow size you're after.
Understanding Fish Shadow Sizes
The shadow on the water tells you what you're about to catch before you even cast. Learning to read shadow sizes saves enormous time when you're hunting a specific species. Shadows range from tiny (size 1) up to enormous shark-class shadows — pairing shadow size with location and season is the core skill this guide will help you master.
| Shadow Size | Description | Example Species |
|---|---|---|
| Tiny (1) | Very small oval | Bitterling, Pale Chub |
| Small (2) | Small oval | Crucian Carp, Dace |
| Medium (3) | Medium oval | Barbel Steed, Carp |
| Large (4) | Large oval | Bass, Pike |
| Very Large (5) | Very large oval | Tuna, Blue Marlin |
| Long / Narrow | Thin elongated shape | Oarfish, Eel |
| Fin Shadow | Large with visible dorsal fin | Sharks (Great White, Hammerhead, etc.) |
A long, thin shadow is completely different from the standard oval shadows — that's how you'll spot eels and other slim species before casting. Once you've internalized each size, you can walk past unwanted shadows entirely and save your fish bait for the right ones.
Where & When to Catch Fish
Fish availability depends on four things: location, time of day, season, and hemisphere. Here's how the main fishing locations break down:
| Location | Notes | Exclusive / Notable Species |
|---|---|---|
| River | Widest variety; most common catches | Stringfish, Dorado, Golden Trout (clifftop) |
| River Mouth | Where the river meets the sea | Salmon, King Salmon (Sept only) |
| Clifftop / Waterfall | Elevated river area; reach with a ladder | Golden Trout, Stringfish |
| Pond | Small enclosed water, separate species list | Crawfish, Killifish, Tadpole |
| Ocean / Sea | Common catches + big-money sharks | Sharks (Jun–Sept N), Coelacanth (rain) |
| Pier | Only location for certain rare pelagics | Blue Marlin, Tuna, Giant Trevally |

Availability flips between the Northern and Southern Hemispheres and rotates by month. Always check the current month for your hemisphere before going on a hunting trip — a fish available in June up north won't appear until December down south.
High-Value Fish Worth Targeting
If your goal is Bells, a few fish deliver far more than the rest. Sharks and the legendary pier fish like the Blue Marlin pay tens of thousands per catch.
| Fish | Sell Price | Location | Availability (N. Hemisphere) |
|---|---|---|---|
| Coelacanth | 15,000 Bells | Ocean (rain only) | Year-round |
| Great White Shark | 15,000 Bells | Ocean | Jun–Sept |
| Whale Shark | 13,000 Bells | Ocean | Jun–Sept |
| Golden Trout | 15,000 Bells | Clifftop river | Mar–May, Sept–Nov |
| Stringfish | 15,000 Bells | Clifftop river | Dec–Mar |
| Dorado | 15,000 Bells | River | Jun–Sept |
| Blue Marlin | 10,000 Bells | Pier | Nov–Apr |
| Tuna | 7,000 Bells | Pier | Nov–Apr |
For selling, you have two options: Timmy and Tommy at Nook's Cranny pay the standard rate, but C.J., the beaver who visits your island, pays 1.5× the base price for all fish. Save your rare catches for C.J.'s visits to maximize profit — a single Coelacanth nets 22,500 Bells through C.J.

The Coelacanth is the most reliable big-ticket fish because it spawns year-round whenever it's raining. Keep fish bait ready so you can summon ocean shadows on demand during rain — a full rainy-day session can easily net 500,000+ Bells.
Tips for Completing Your Critterpedia
Completing the fish section of your Critterpedia takes planning across a full in-game year. Here's how to work through it efficiently:
- Check in every month. Some species rotate out — miss them and you wait a full year. Set a reminder at the start of each month to check what's newly available.
- Pay attention to time-of-day windows. Some fish only appear at night or early morning. Night-only species are worth a dedicated session after 9pm.
- Use fish bait. Crafted from manila clams dug up on the beach, fish bait summons a shadow on demand — invaluable for chasing that one last rare fish without waiting for the right shadow to appear naturally.
- Equip the Golden Rod for long sessions. With the highest durability in the game, the Golden Rod won't snap mid-session when you're deep in a shark or Coelacanth hunt.
- Donate new catches to Blathers immediately. The museum gives you a permanent record and a beautiful aquarium to show off, and it prevents accidentally selling a species you haven't donated yet.
- Target clifftop rivers and the pier separately. These locations have exclusive species — build a ladder early and don't neglect the pier on rainy days.
- The reward is the Golden Rod itself. Catch every fish in the Critterpedia and you'll receive the Golden Rod DIY recipe as a reward — or skip the grind and get it delivered from ACNH Mall now.

Get Bells, NMTs & More Delivered to Your Island
Fishing is a great way to earn Bells — but if you'd rather stock your island faster, ACNH Mall delivers Bells, Nook Miles Tickets, the Golden Rod, fish bait, and more straight to your island in minutes.